Listen to the Blog Post
You want a basement where the kids can play, someone can work, and the rest of the family can enjoy the first floor without hearing every conversation. How do you make those activities work together?
Basement ceiling dampening is part of that conversation. We can make a basement much quieter, but complete soundproofing in a home is rarely realistic. The more useful approach is to determine which sounds you want to reduce.
The ceiling is the main path sound takes between the basement and the rest of the house, so that’s where planning starts. But doors, interior walls, layout and the floor above determine whether that work pays off, and those decisions need to be made before the ceiling is closed in.
Key Takeaways
- A quieter basement is achievable; eliminating all sound transfer usually is not.
- Decide which activities and rooms need protection before choosing sound dampening materials.
- Ceiling insulation helps dampen sound, but doors, gaps, flooring, and layout matter too.
- A defined design and scope are more useful than a generic price-per-square-foot estimate.
Can You Soundproof a Basement?
You can substantially reduce sound traveling into and out of a basement. Completely stopping it is another matter.
Soundproofing means zero noise transfer. Sound dampening means absorbing and minimizing the sound that passes between spaces. You might still hear something muffled from the next room or upstairs, but you are less likely to make out the conversation.
True soundproofing generally requires specialized materials, contractors and a substantial investment—closer to commercial work than a typical basement finish. We’ll explain those limits rather than make a promise that residential construction cannot reliably deliver.
If you’re researching how to soundproof a basement, start by identifying what would make your home more comfortable: fewer footsteps over your desk or quieter movie nights. Each points to a different plan.
The goal isn’t silence everywhere. It’s spending thoughtfully on the sounds that matter most to your family.
 Start With How You’ll Use the Space
We begin by asking how you’ll use each room and what frustrates you about noise today. Those answers tell us more than a general request to “soundproof the ceiling.”
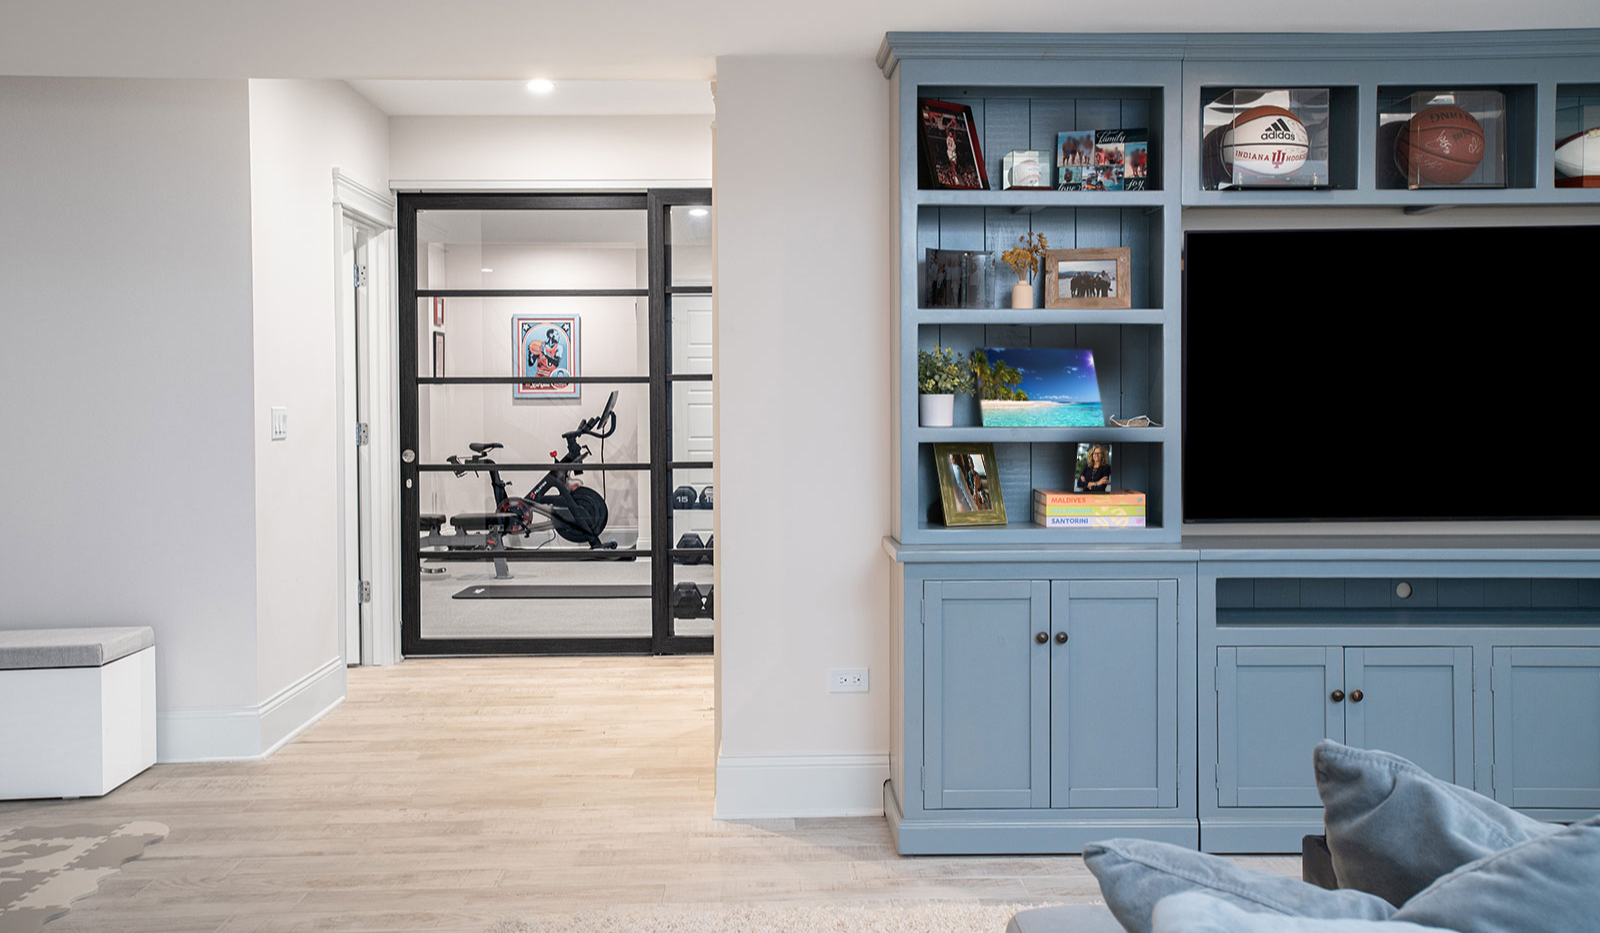
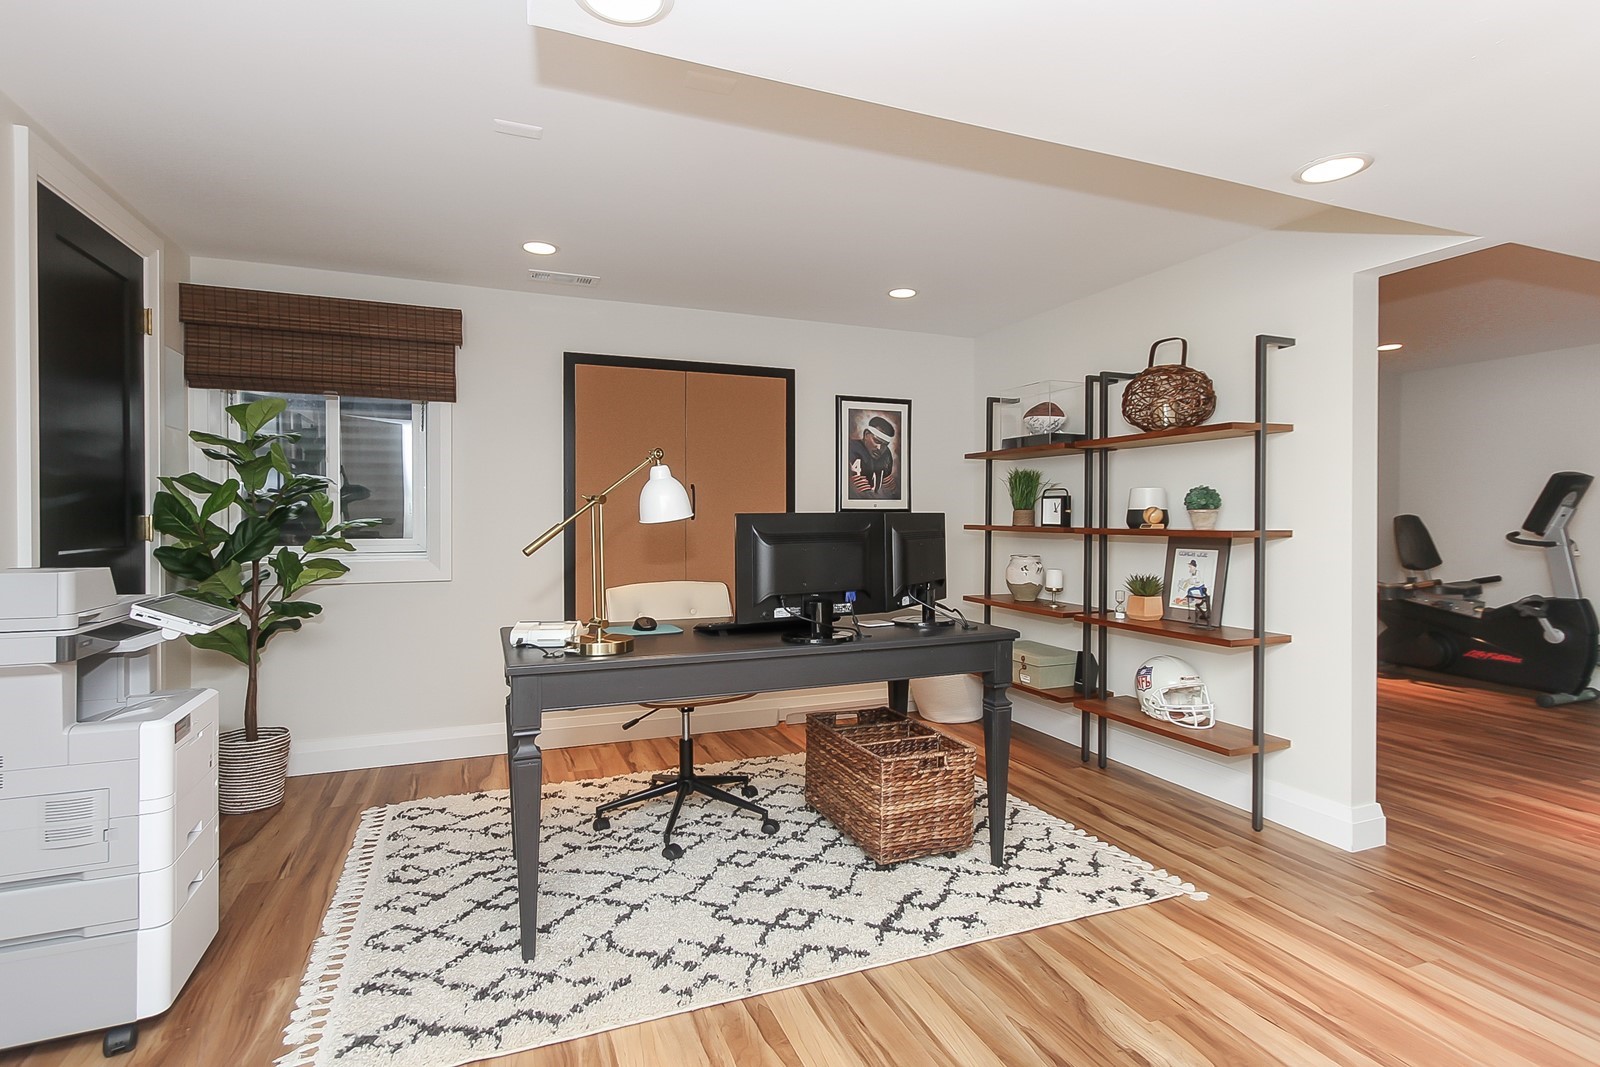
Example: A home office. You want a quiet place to work, but your current upstairs office is full of distractions. A desk in an open basement may not solve it. We’d discuss a separate room, insulated interior walls, and a door that closes.
Example: A playroom. If you’re tired of hearing toys banging on the hardwood upstairs, that tells us a lot about the new basement playroom. Carpet in the play area can soften that noise from the start, and it may matter more than putting the whole budget into adding sound-dampening features into the ceiling.
Example: A music room. If you plan to host late-night jam sessions with young children upstairs trying to sleep, we’ll focus on the ceiling, doors, and any other paths sound could escape through.
Our approach to basement remodeling is to look beyond your needs today and think about what your family’s future might look like. Today’s playroom could become a teen hangout, a home office or a guest retreat, so we plan for that from the start.
 What Kind of Noise Are You Trying to Stop?
Two kinds of noise matter, and identifying yours helps us direct the investment.
1. Airborne noise
- Voices, television, music or conversations traveling through rooms
- Consider the ceiling, interior walls, doors and gaps that let sound move.
2. Impact noise
- Footsteps, dropped toys or objects hitting a hard floor upstairs
- Pay attention to the flooring and surfaces where the impact begins, as well as the ceiling below.
- Reducing footsteps starts with the floor above, while containing music or voices depends on the ceiling, walls, and doors around the room.

Does Insulation Between Floors Help With Sound?
Yes, but insulation alone won’t solve the problem. Adding insulation, such as fiberglass batts, between the first-floor joists under the subfloor and the basement ceiling helps absorb some of the sound moving between floors, so voices and everyday noise become less noticeable. On its own, though, it dampens sound rather than stopping it.
That’s why we treat sound control as a system, not a single product. Insulation works best alongside the right ceiling construction, solid doors with good seals, thoughtful flooring and a layout that separates loud spaces from quiet ones. If you’re searching for the best insulation for sound dampening a basement ceiling, the better question is how insulation fits into that larger plan.
Many homes skip insulation in the basement ceiling and interior walls to save money, so a basement finish is a good time to add it where it will help most. We often insulate around bathrooms, laundry rooms, and mechanical rooms for the same reason, and the same approach works between the first and second floors. Ceiling insulation also affects how heat moves between floors, so it’s worth discussing as part of the overall design.
 Why Basement Ceiling Sound Dampening Must Be Planned Before Drywall
A ceiling is hard to change once finished. With joists exposed, we can evaluate insulation, the finish, and the floor above as one system.
Depending on the project and local code, choosing between a drop ceiling and thicker drywall—or adding an additional layer—may help reduce sound transmission and overall transfer. The floor above matters just as much. Sound travels both ways: conversation and music can move upstairs, while footsteps and household activity travel down. For example, in an open-concept home with hardwood floors and few soft surfaces like rugs or upholstered furniture, there’s very little to absorb sound, so noise travels easily: kids upstairs can hear conversations at the dinner table, and footsteps carry down to the floor below. That’s why the floor above and soft finishes belong in the sound-control plan.
Sound dampening flooring and underlayment may be worth discussing when first-floor flooring is also being addressed; a cork underlayment is one option. Rugs upstairs help, too. In the basement, underlayment beneath vinyl on concrete or carpeting can soften sound.
Sound dampening between floors in new construction can be planned while the structure is open. In a finished house, equivalent changes may mean removing finishes. Soundproofing after construction often means opening the ceiling back up, then repairing work you’ve already paid to complete.
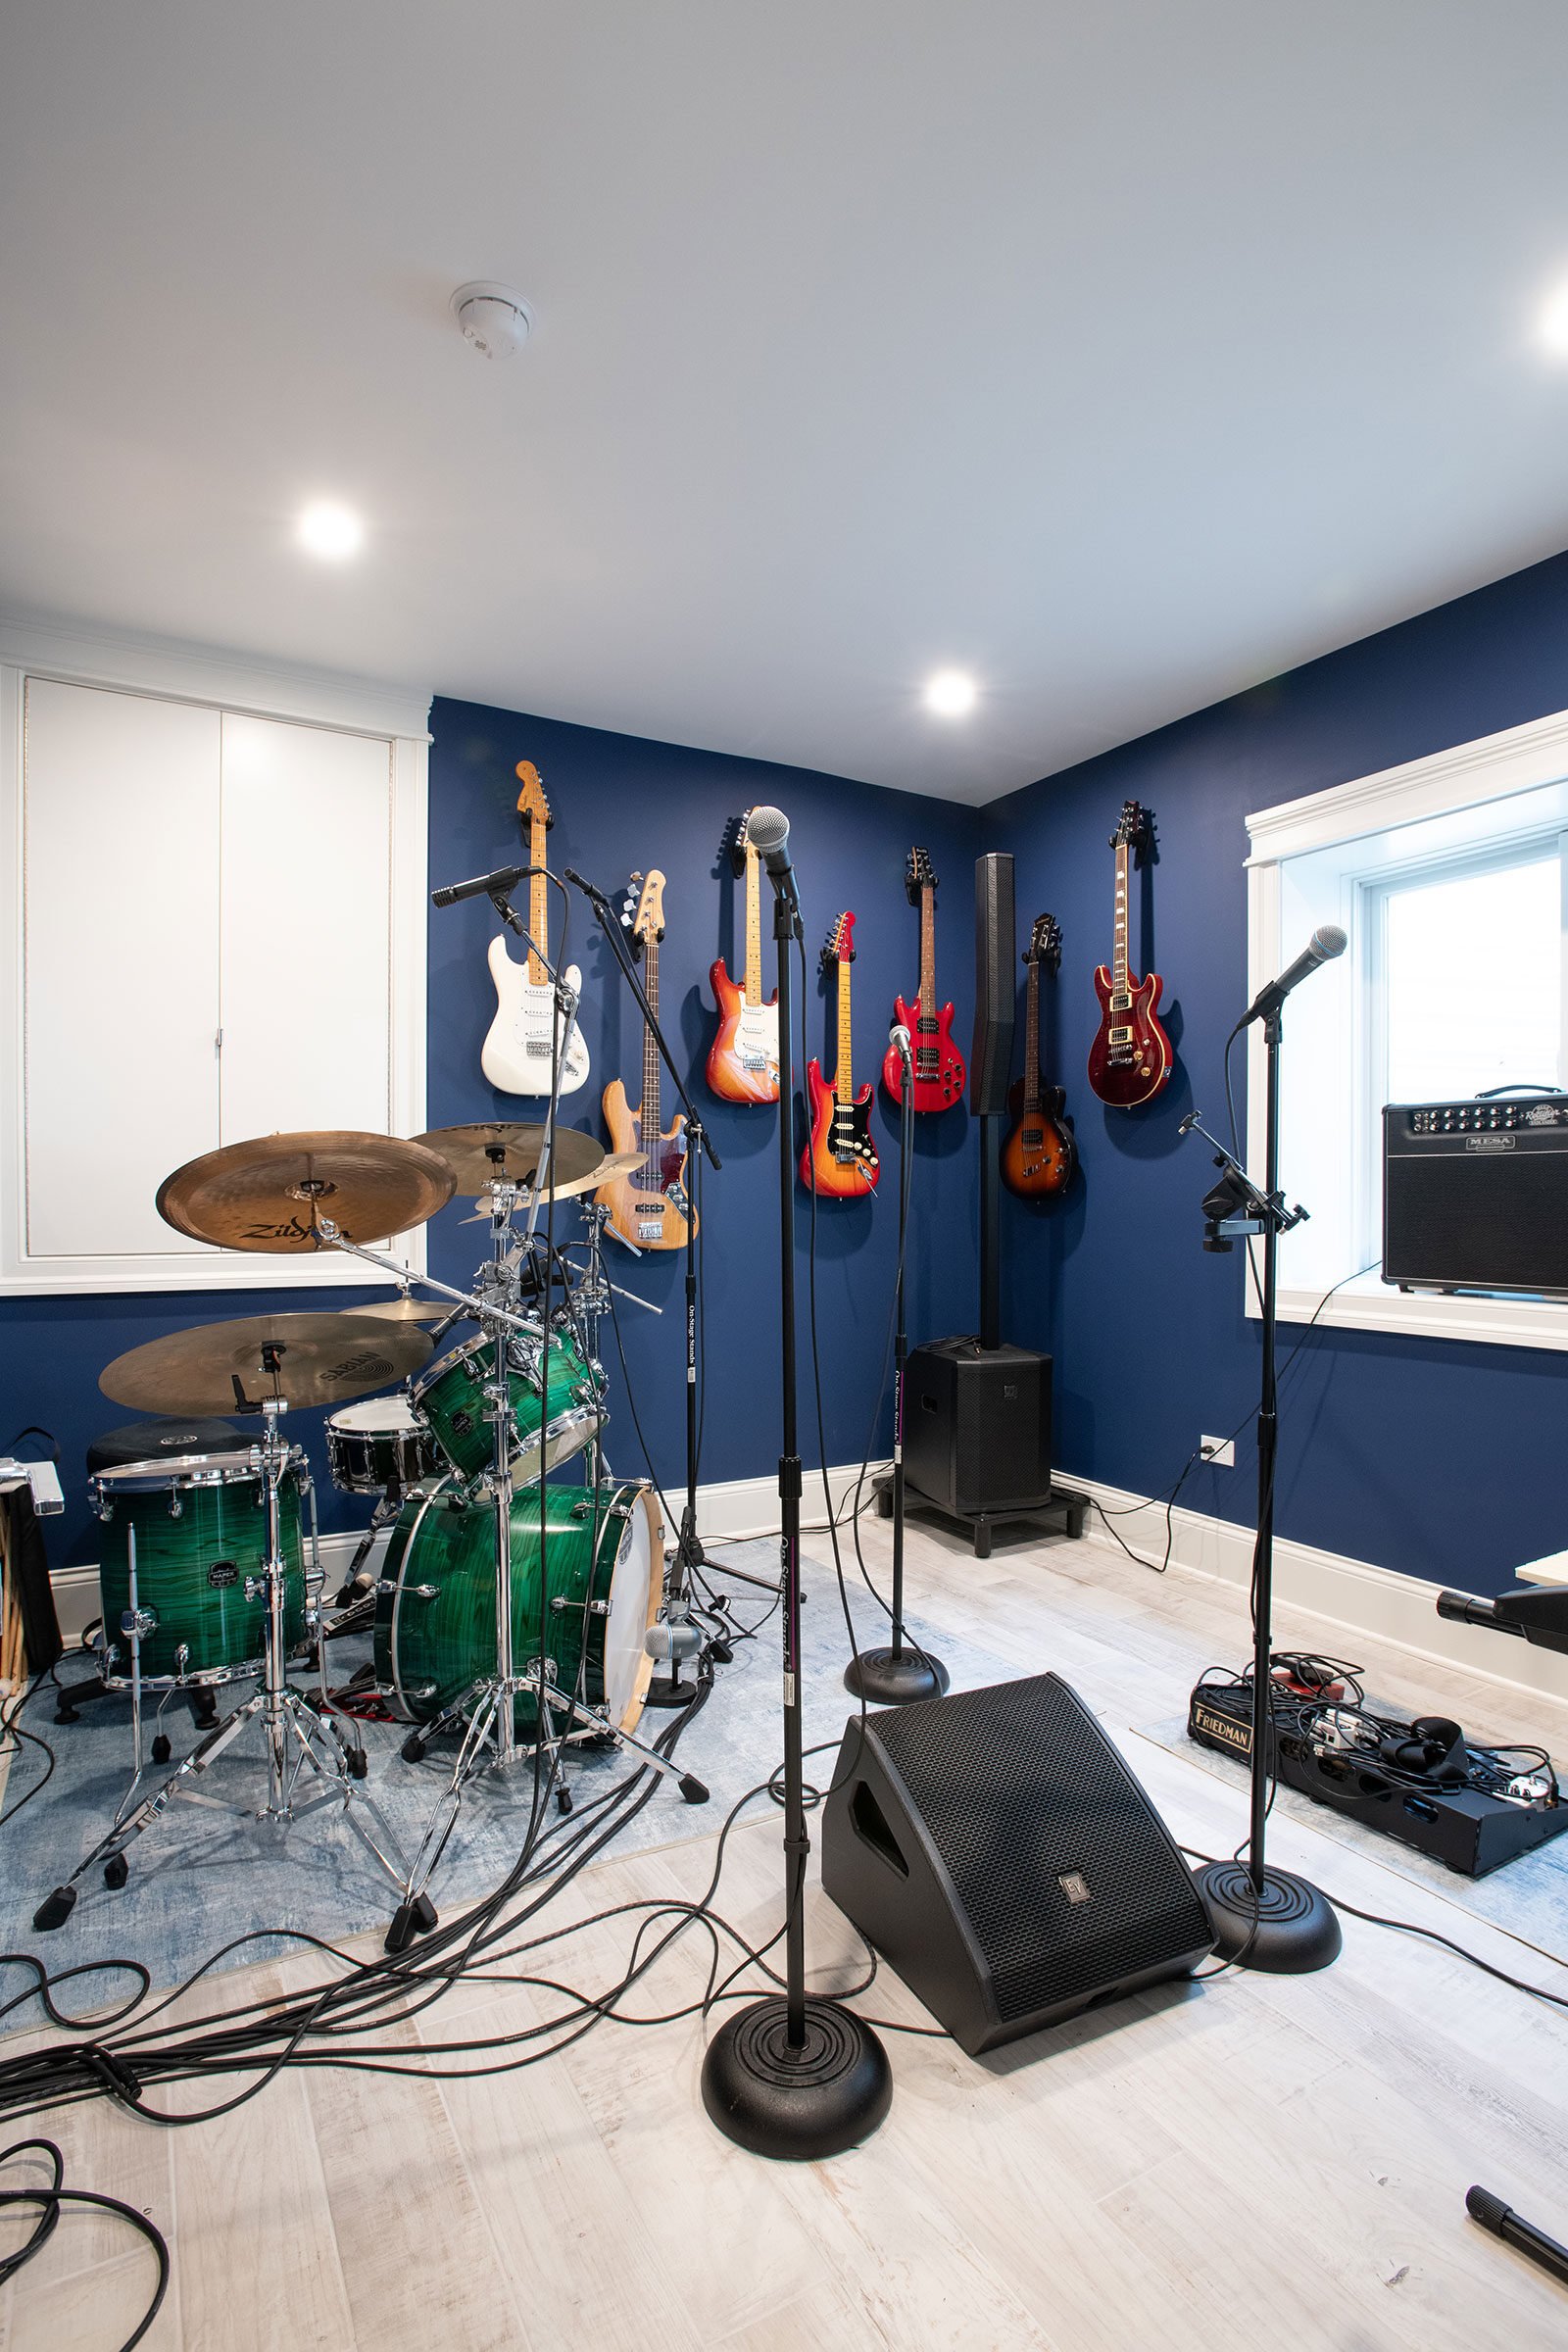
In our Glenview custom music studio, we adhered and stapled a thick rubber insulation roll, similar to mass loaded vinyl (MLV), across the ceiling to help dampen sound. That rubber ceiling insulation was one part of the plan.
 Doors, Seals and the Gaps Sound Slips Through
You can plan the perfect ceiling, but if sound can slip out through the door, much of that effort is lost. That’s why we pay close attention to how a room closes off, starting with the door itself.
Most interior doors are hollow-core. They’re popular because they’re the least expensive option, but there’s very little inside them to stop sound, and they tend to rattle with movement. A solid-core door has no hollow space, so it absorbs noise much better. You can choose wood or composite, and both offer similar sound dampening. Both cost more than hollow-core, though oftentimes, solid-core wood is less expensive than composite, depending on the type of wood and the door style.
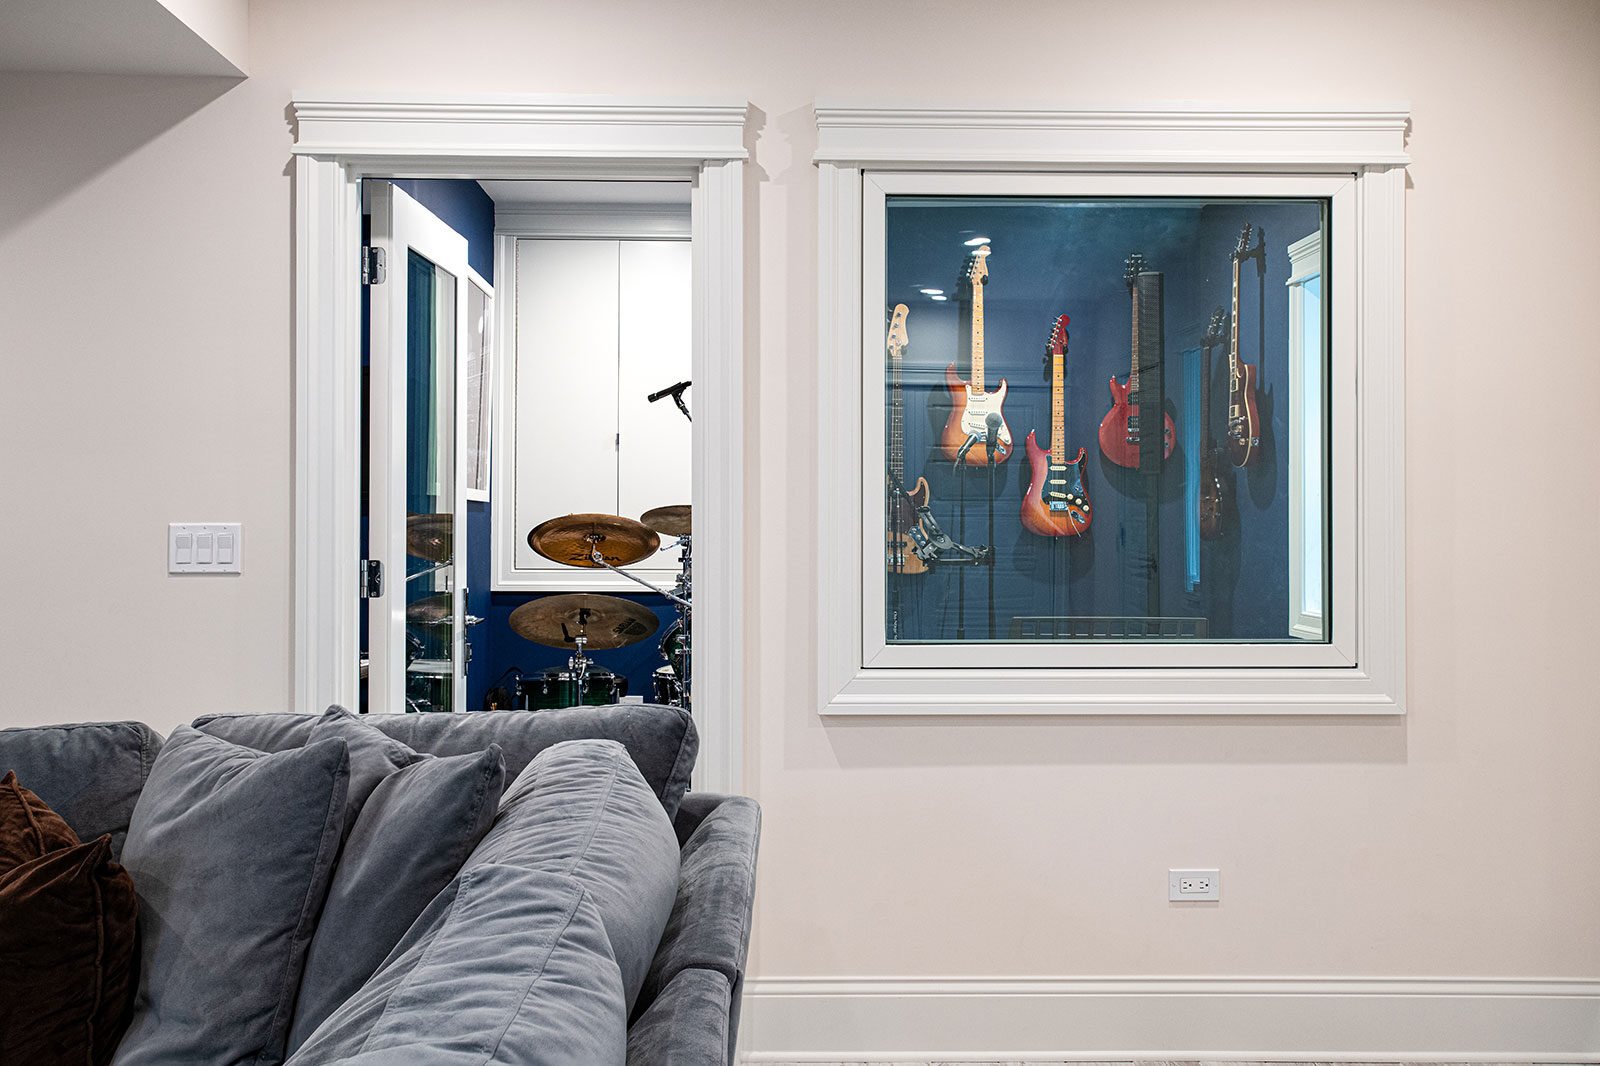
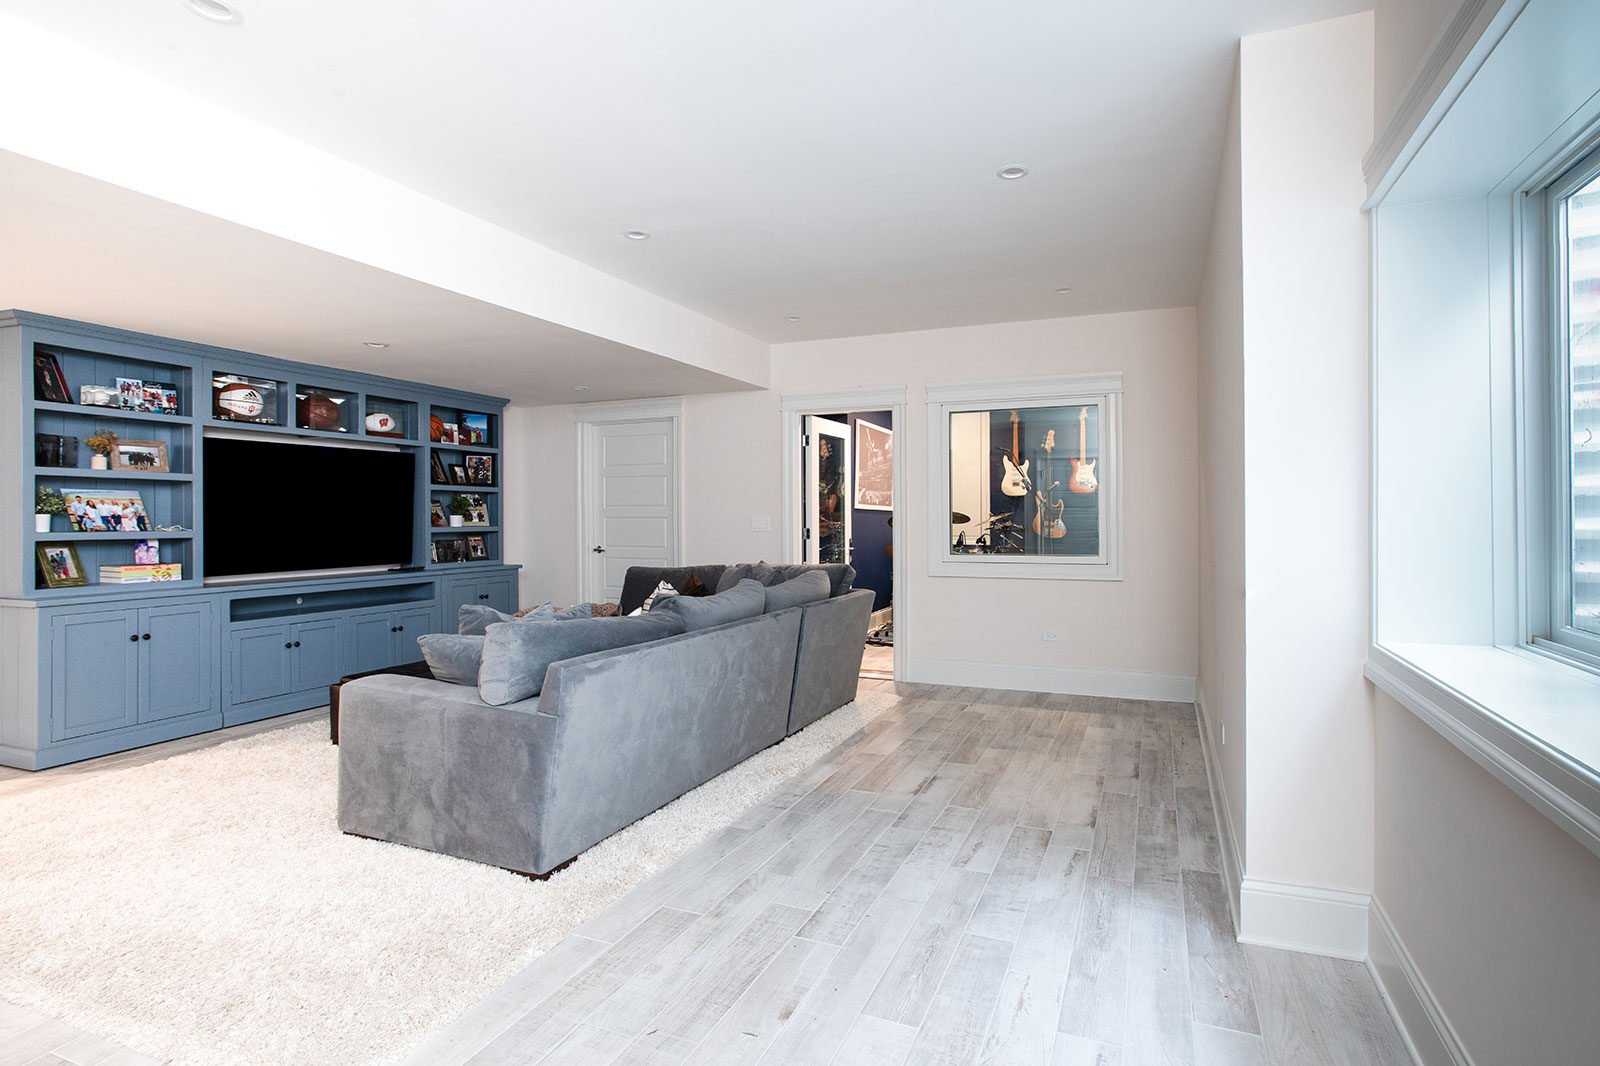
The next weak spot is the gap. Interior doors usually have a small space at the bottom, no acoustic caulk around perimeter gaps, and no weatherstripping around the frame, which gives sound an easy way out. Exterior doors, on the other hand, are built to be weather-tight. In the music studio described above, we used an exterior-grade door into the room for that extra sealing. The homeowners also wanted to see into the room and its guitar display, so rather than leaving it open, we installed an exterior-grade window that kept the view without giving up the sound control.
When a room needs to be quieter, the way you close it off matters as much as the materials inside it.
 Use the Layout to Separate Loud From Quiet
An open basement brings everyone together, but it can leave little room for quiet when someone is working while someone else watches television. Rooms with walls and doors help separate those activities, and we’ll help you decide which ones truly need a room of their own.
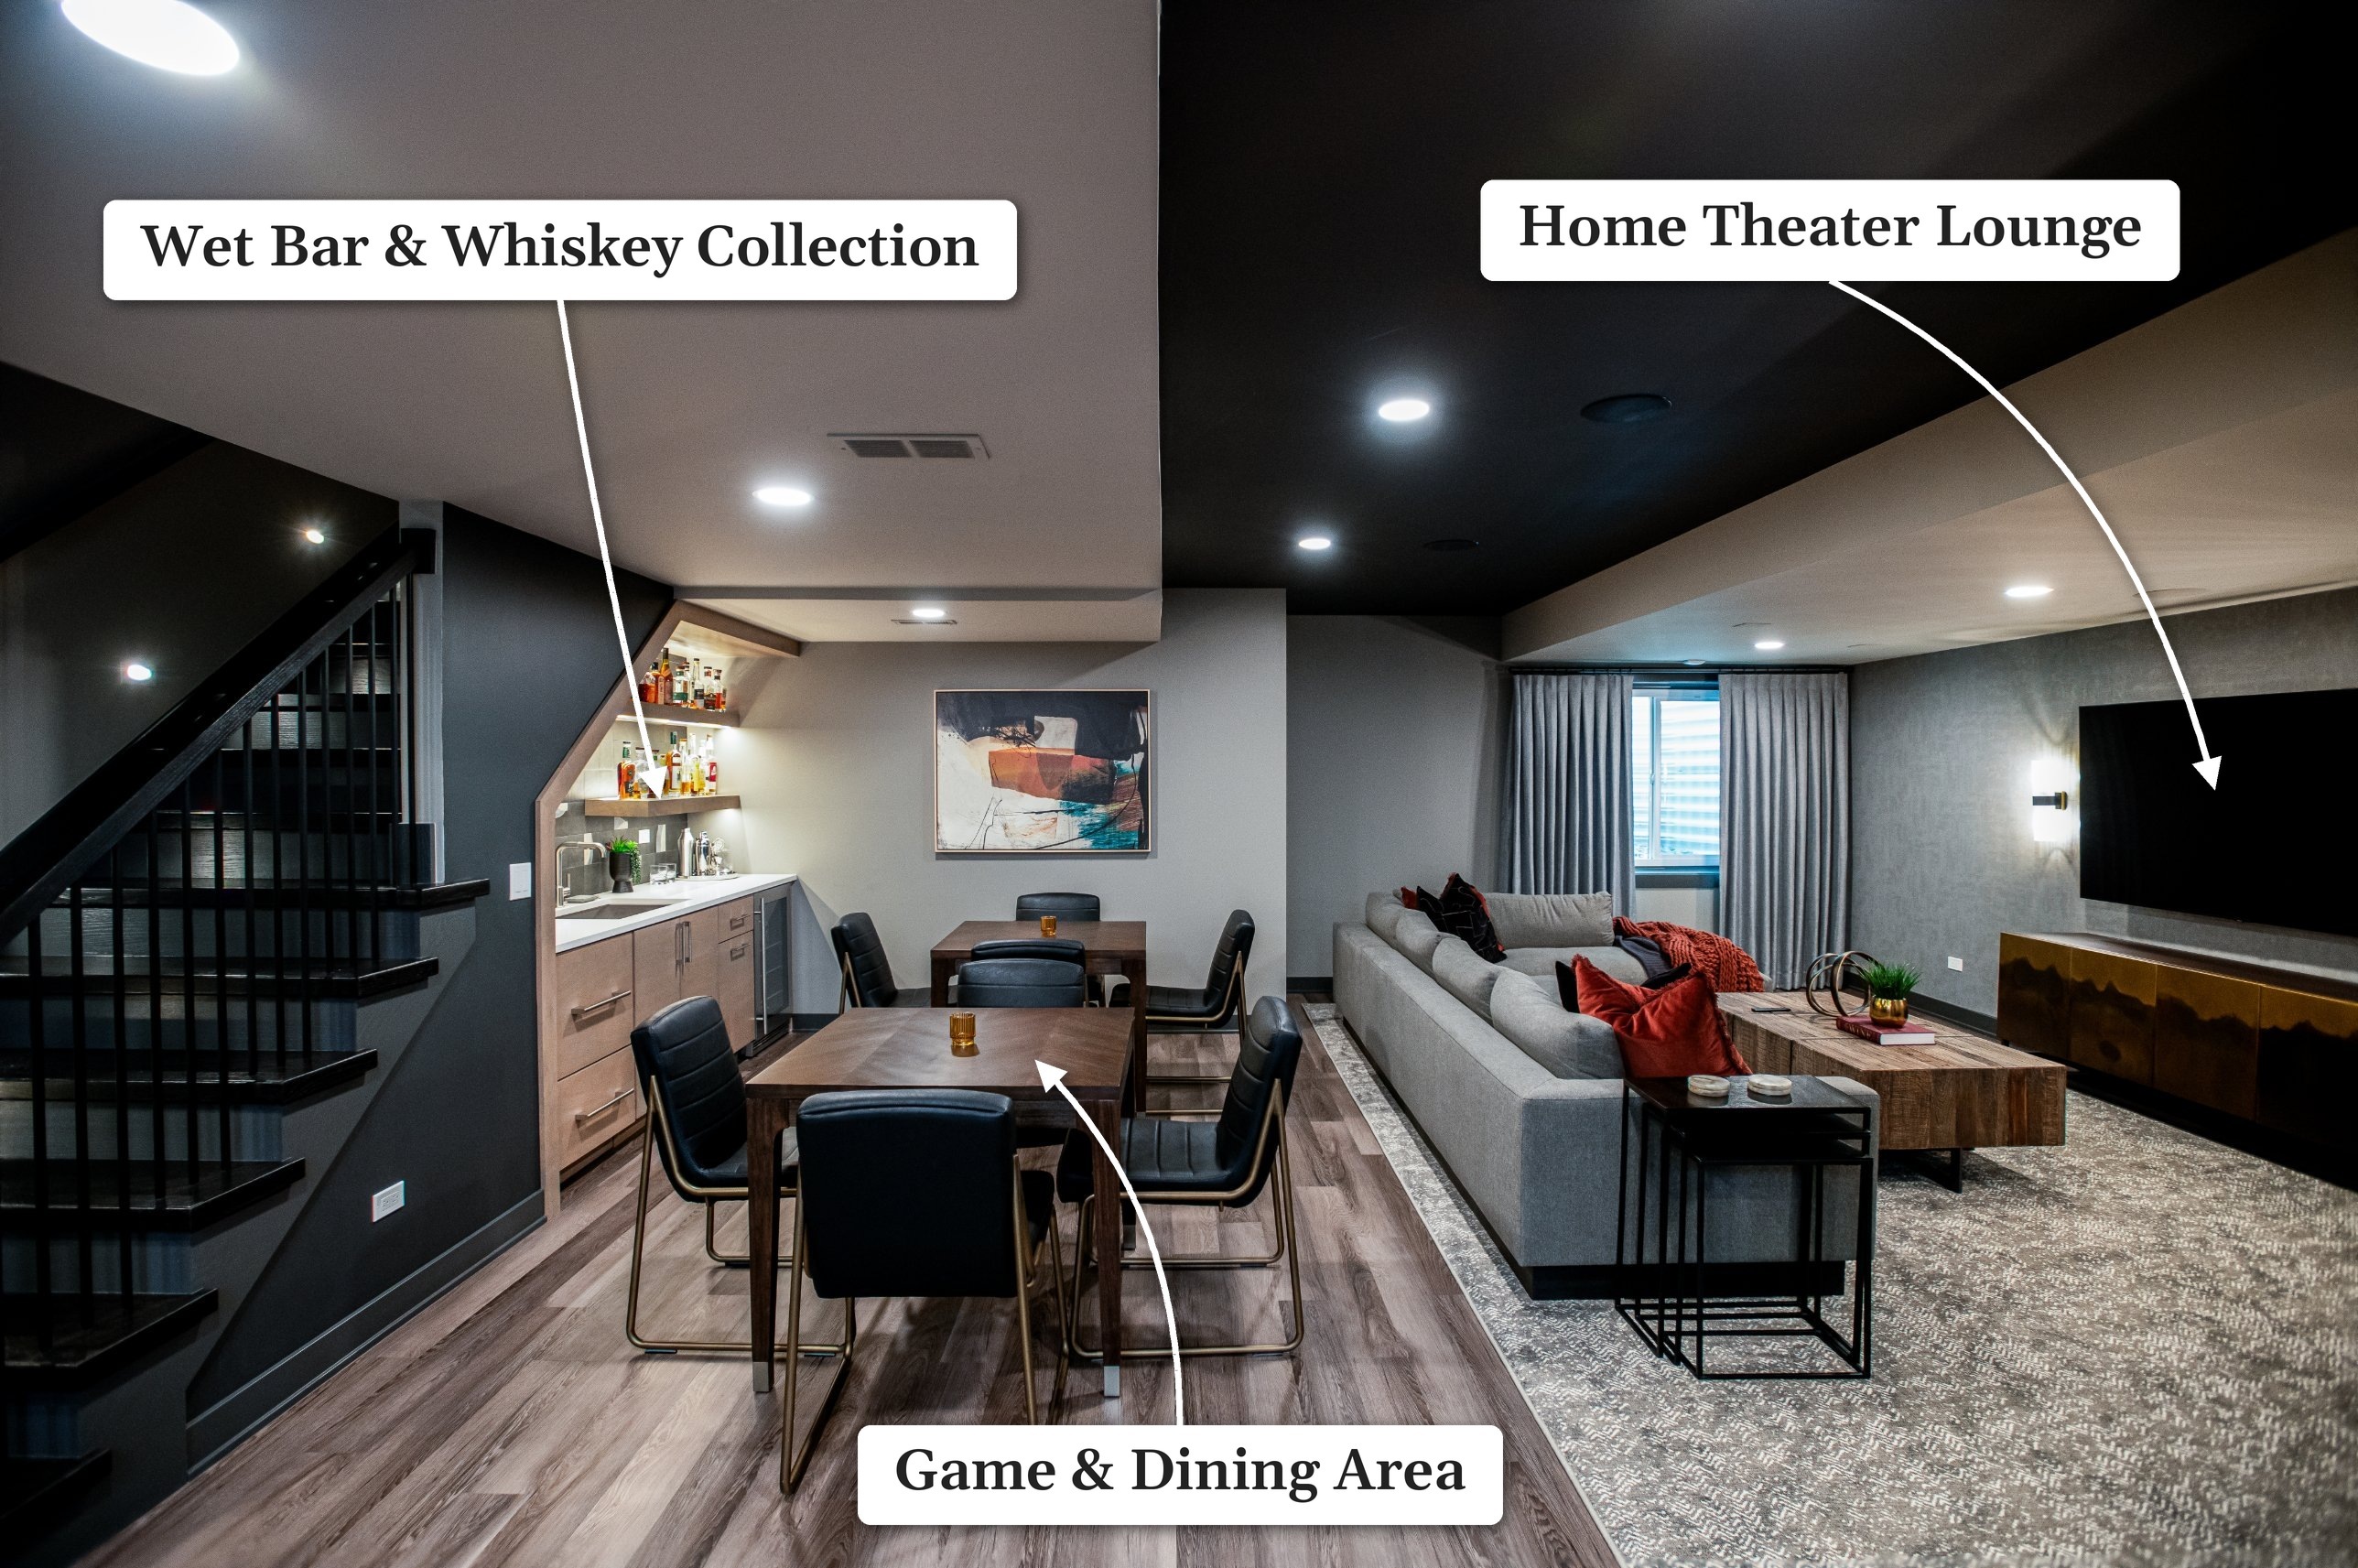
For spaces that stay open, zones can make the basement easier to share. Our Kaspar basement renovation in Arlington Heights has areas for different conversations and activities to happen at once. Those zones organize the space, though they don’t block sound.
We also work with what’s already there. The furnace and mechanical room are almost always existing conditions, and duct routes depend on the floors above. We design around them and insulate around the mechanical room to help contain its noise.
It also helps to think about what sits above and below each room. A guest room under the family room, or a gym beneath someone’s bedroom, can turn ordinary household noise into a daily frustration.
 Materials and Finishes That Soak Up Echo
Soft finishes absorb the sound bouncing around inside a room, which reduces echo, but they won’t stop noise from traveling between floors. The right finish depends on how each part of the basement will be used, as these projects show.
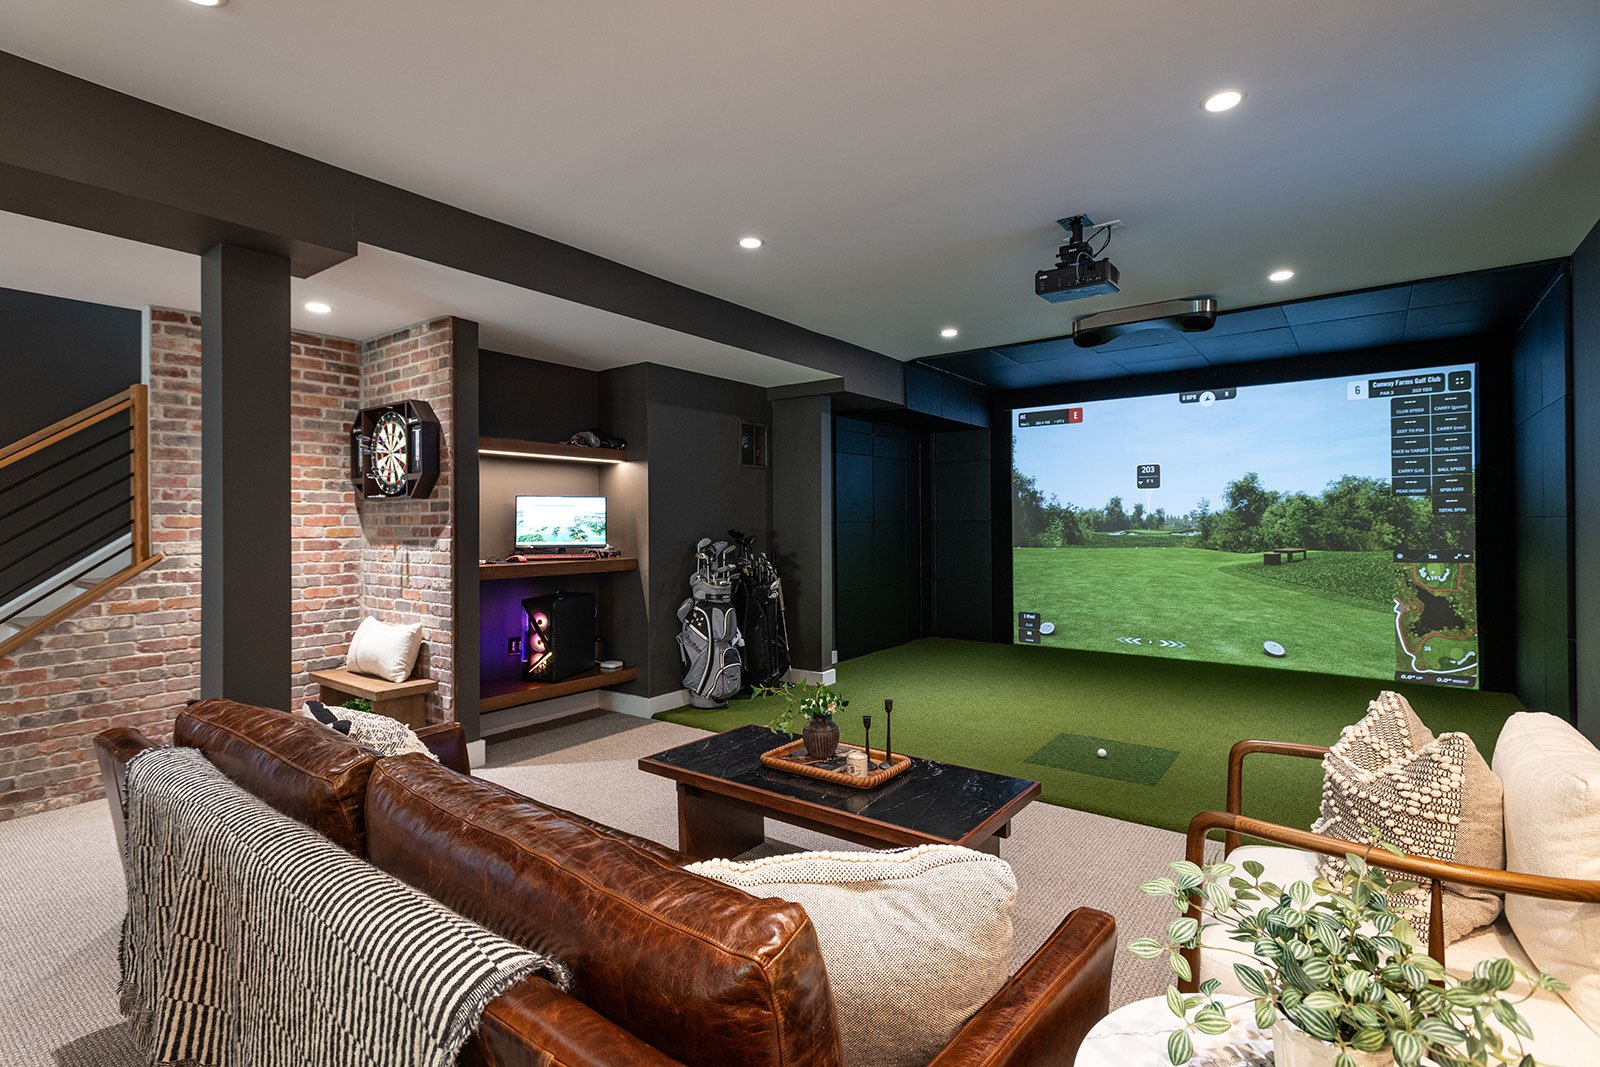
In our Crystal Downs basement in Hawthorn Woods, we used carpet throughout except in the workout room. The golf simulator needed padding on the ceiling and two side walls to protect them from golf balls. While it will likely soften sound too, it wasn’t designed as an acoustic treatment.
 A gym calls for different finishes. Our Robincrest basement gym has rolled rubber flooring that absorbs sound, as well as doors that close it off from the rest of the basement. We also used rolled rubber flooring in the Beverly home gym in Arlington Heights.
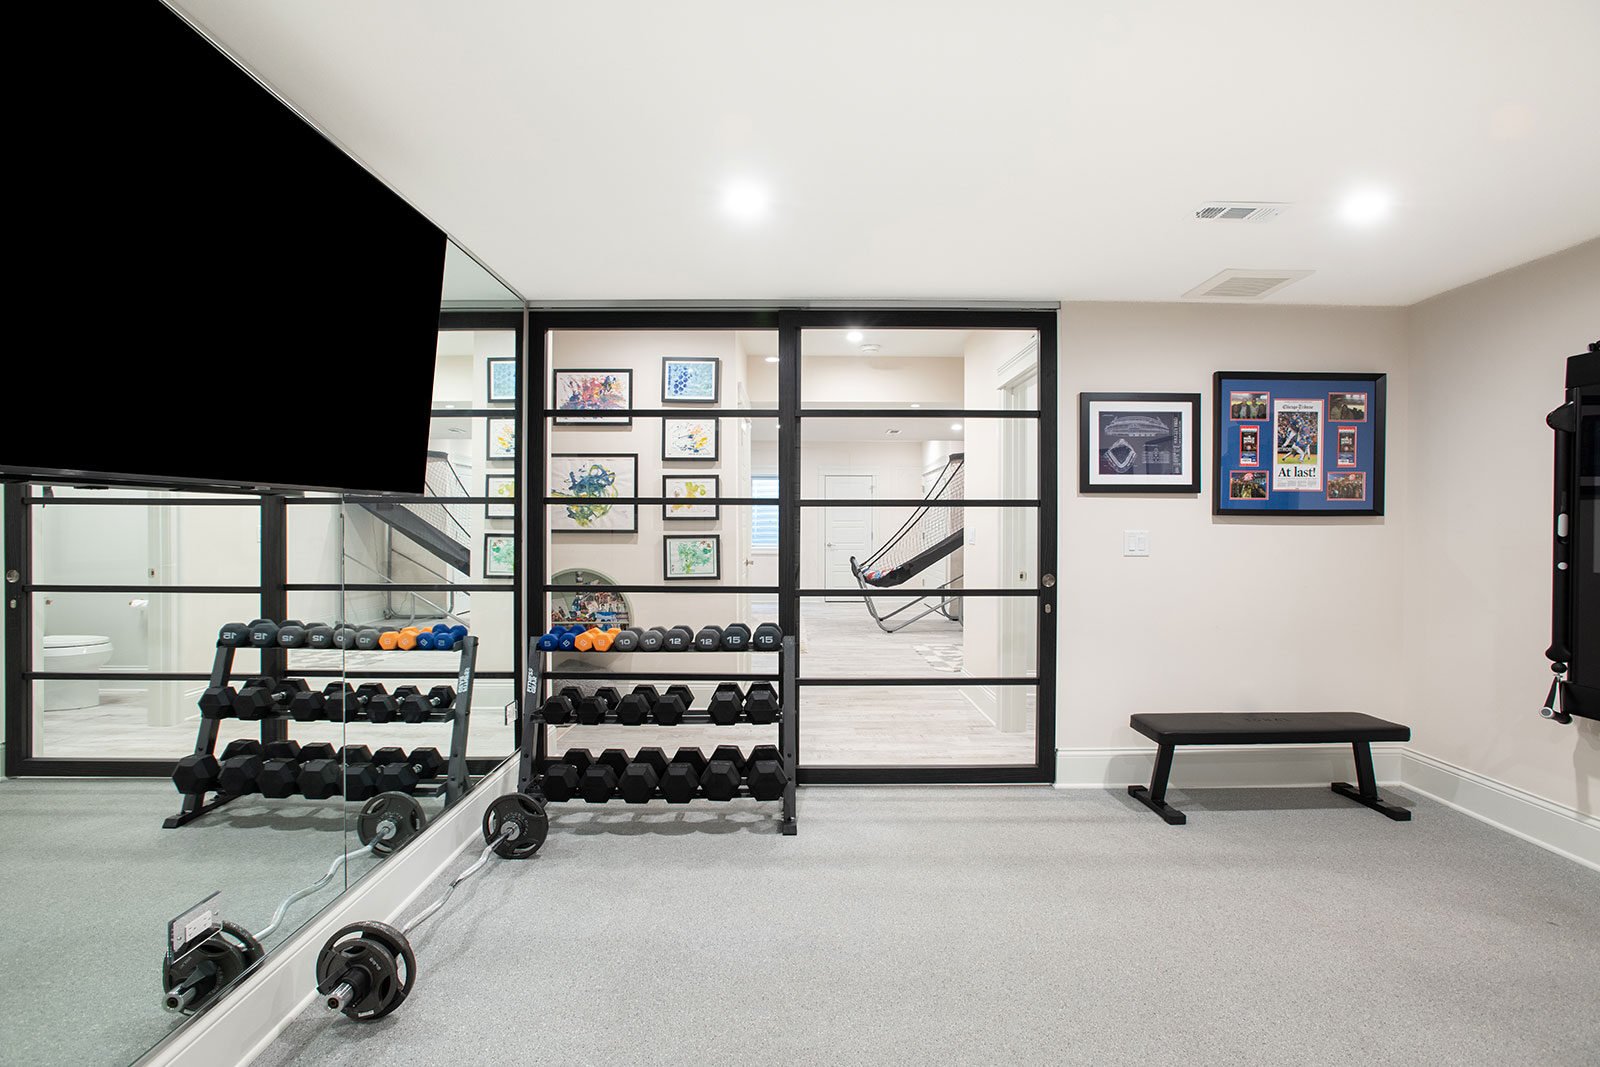 Image Above: A dedicated home gym in the Robincrest basement, finished with durable rolled rubber flooring
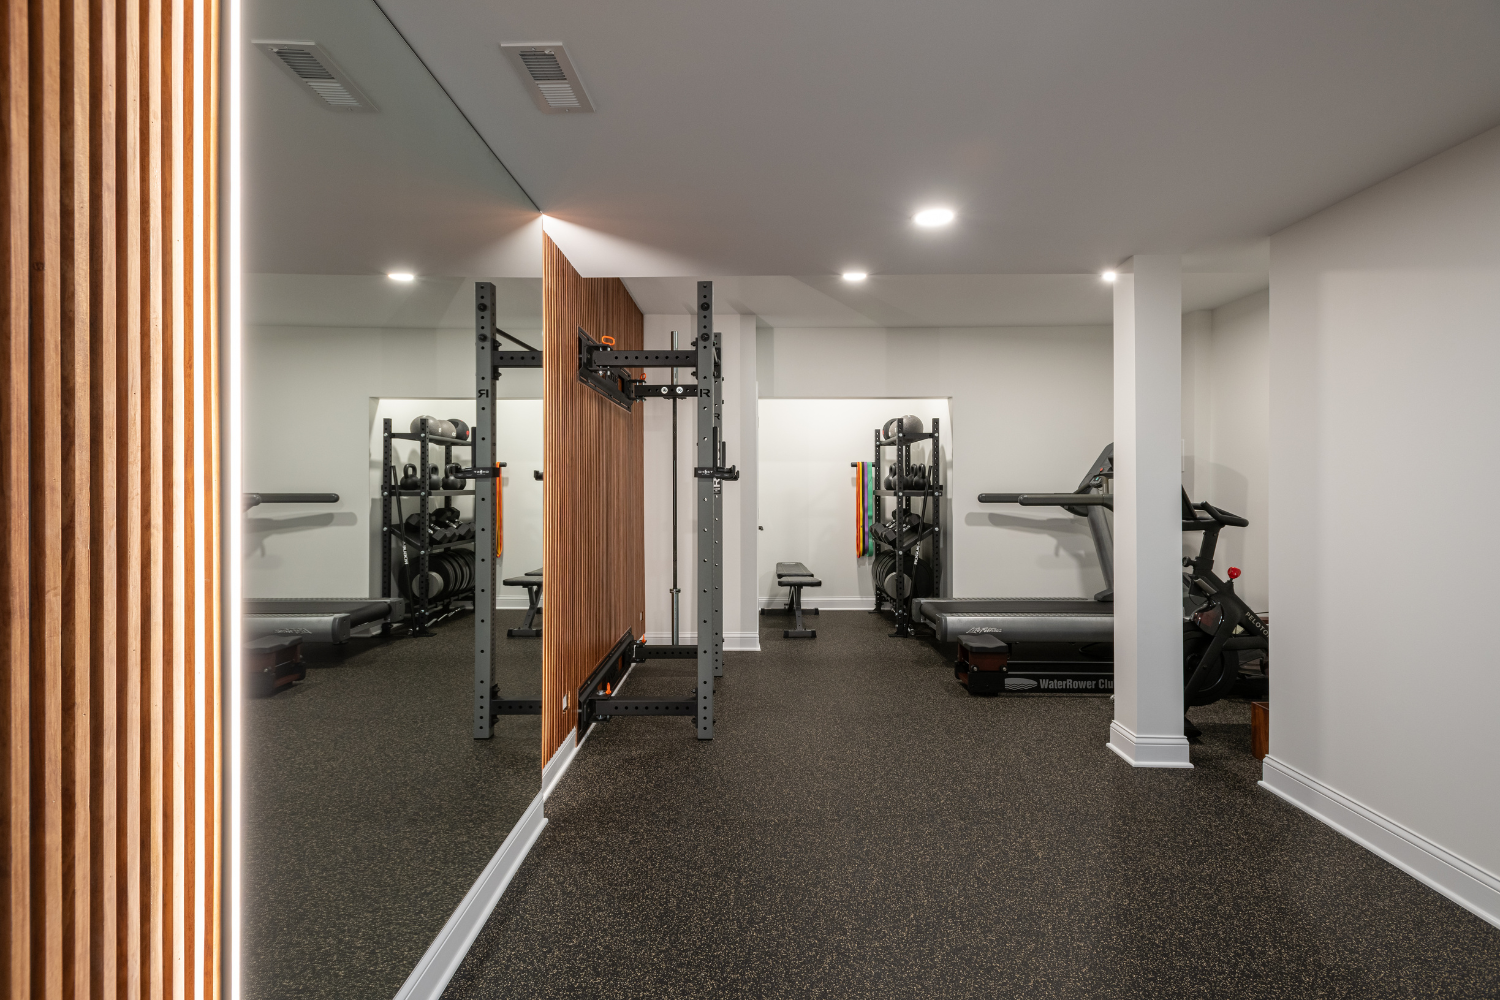 Image Above: Home gym in the N. Beverly basement remodel, finished with rolled rubber flooring that stands up to heavy equipment and cleans up easily.
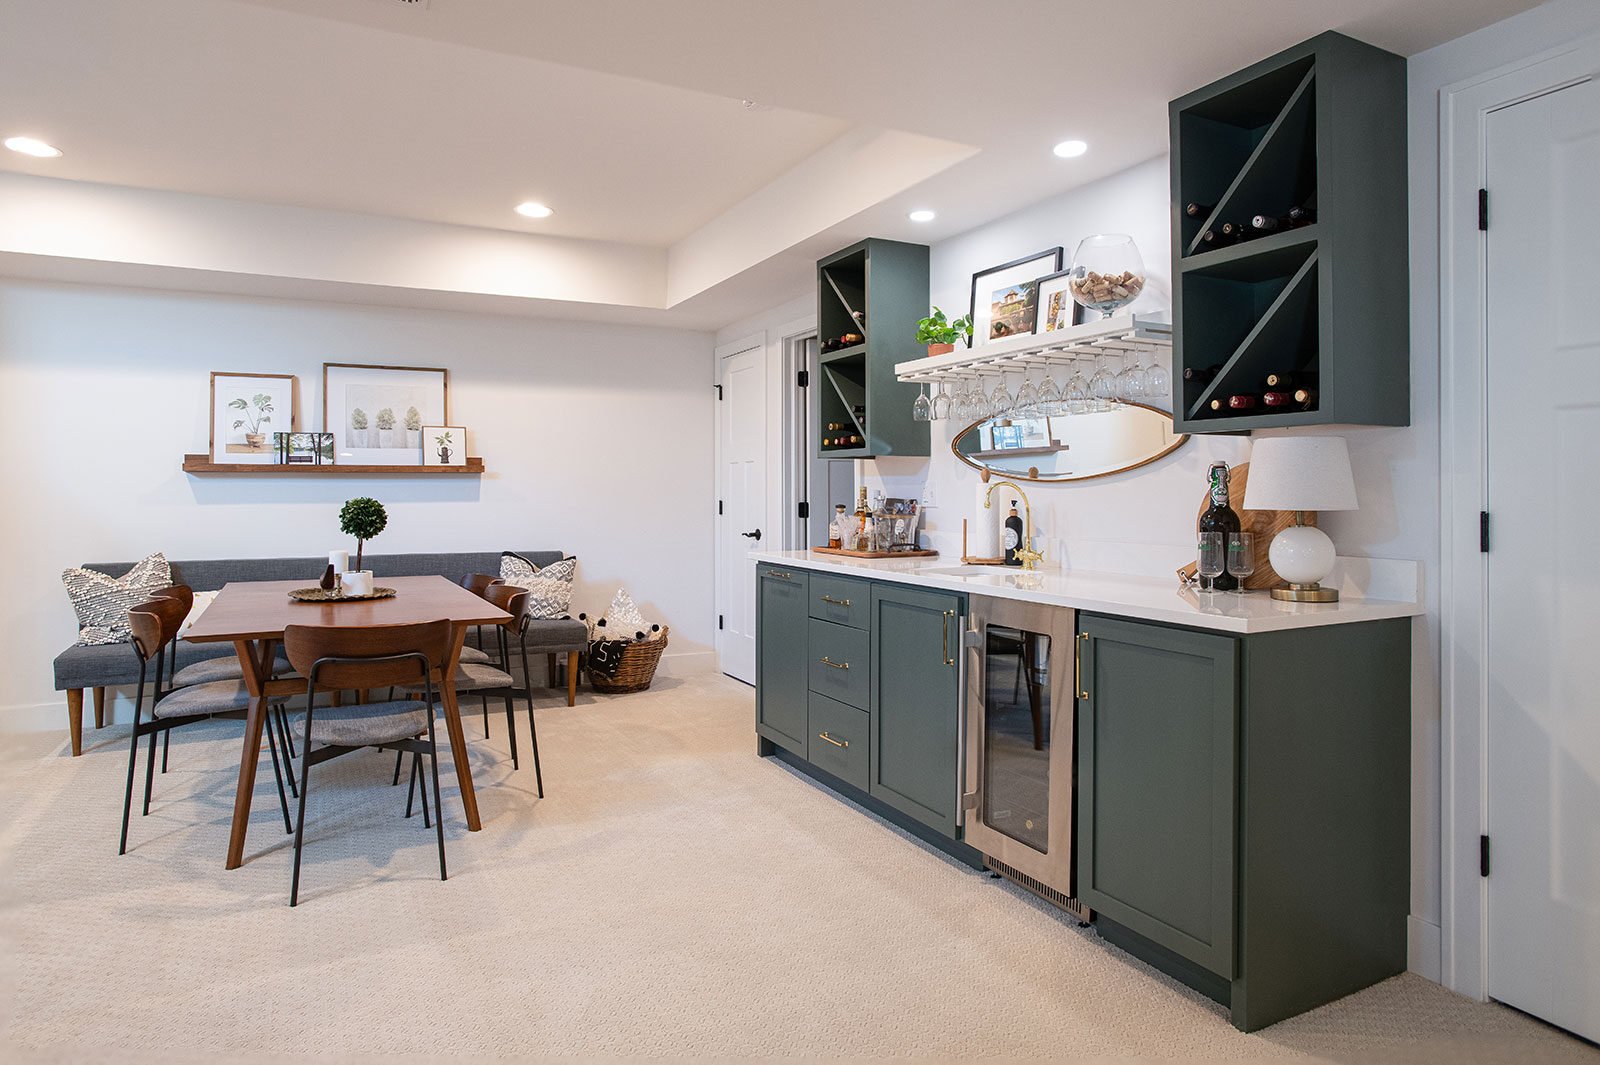
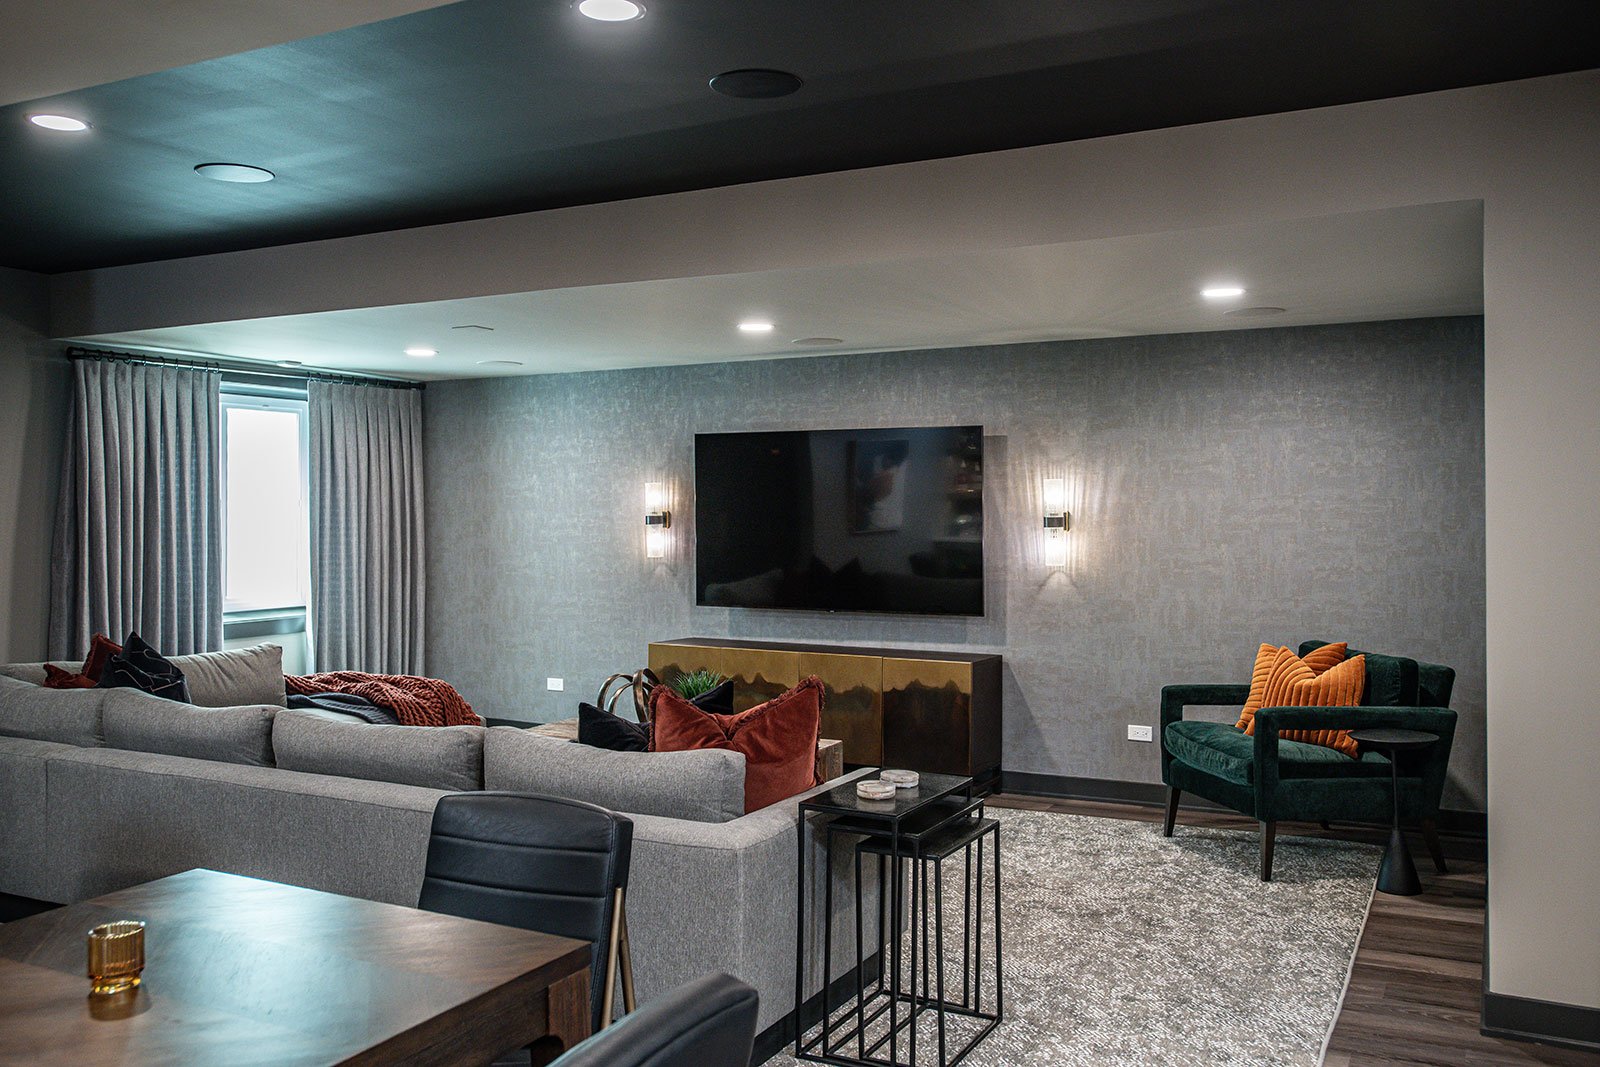
For a TV or gathering area, soft furnishings do much of the work. In the Kaspar basement, a large rug, curtains and upholstered seating keep the open living area from sounding hard and echoey. Whatever the activity, the finish should suit how you’ll use the space, and our guide to durable flooring options can help you think through the choices.
 How Much Does It Cost to Sound Dampen a Basement?
The investment depends on the sounds you want to reduce, which rooms are affected, and when you do the work. We look at the sound pathways, doors and flooring involved, including what is happening on the floor above, before defining the scope.
Timing matters too. As we covered above, sound control is much easier to build in during a basement finish than to add once the ceiling and walls are closed up, and a temporary fix may bring short-term relief but leave you with rework later.
That’s why a price per square foot doesn’t tell you much about what your particular basement needs. Free estimates prepared before a design or a thorough look at existing conditions depend on assumptions, and missed details can become change orders. We explain this further in why free remodeling estimates can cost more.
If someone offers a sound dampening price before asking what noise bothers you or how you’ll use the space, it’s worth asking exactly what that proposal includes. You want to know which concerns the work addresses, rather than assume every quote covers the same thing.
We also encourage you to ask yourself: “How much do I give myself permission to invest?” During discovery, we work out which sound-control measures matter most to you and price them in a written proposal. Optional “would like to have” items are listed separately so you can see what is essential and what you might add.
 How We Plan Sound Control in a Basement Remodel
It all starts with a conversation about how your family lives and how you hope to use the space. From there, we take a closer look at the basement itself. If something important is hidden behind a wall or ceiling, we may make a small exploratory opening or use a camera to see what we’re working with before anything is designed.
Together, that conversation and what we find shape a dimensioned design that brings the layout, doors, flooring and ceiling together. That way, we’re budgeting for a defined scope rather than assumptions. Our design-build process connects those choices to the work ahead.
When the design is set, you’ll receive a written proposal, typically seven to ten pages, with lump-sum pricing and any optional items clearly identified. You’ll know what’s included before any work begins.
Good planning takes time. Design, budgeting and permitting generally take three to four months before construction starts, and permits alone can take four to six weeks, depending on your municipality. Because changes after submission can restart that review, it pays to make sound-control decisions early, while they’re still easy to build into the plan.
 Let’s Plan a Basement That Works for Your Family
A quieter basement starts with a clear understanding of how your family lives. When you know which noises matter, which rooms need separation, and what needs to happen before drywall, you can make an investment that supports everyday comfort rather than chasing an unrealistic promise of total silence.
If you’re considering a basement finish or renovation in Palatine, Arlington Heights, Glenview, Barrington or the surrounding Chicago suburbs, let’s talk about the way you want to use the space—and what would make it quieter and more comfortable.
Schedule a discovery call with Patrick A. Finn to start planning your project. If you’re still thinking through your investment, download Smart Strategies for Home Renovation Budgeting.

Frequently Asked Questions
Can you soundproof a basement?
You can make a basement much quieter, but eliminating all noise transfer in a home is rarely realistic. Most homeowners benefit more from sound dampening: reducing how much noise moves through ceilings, walls, doors and other openings. The right approach depends on whether you’re trying to contain basement activity, block upstairs noise or both.
Should you insulate your basement ceiling for sound?
Yes, insulating your basement ceiling absorbs some sound and can make conversations and other everyday noise less noticeable. It does not create a complete sound barrier by itself. You’ll get a more useful plan when ceiling insulation is considered alongside the drywall, doors, flooring and the paths sound takes between rooms.
How do I stop hearing footsteps from upstairs in my basement?
Start by looking at the floor where the footsteps happen, not just the ceiling below. Hard flooring can transmit impact noise, while rugs or an appropriate underlayment may reduce it. If you’re finishing the basement, talk with your contractor about ceiling insulation and construction before drywall is installed.
Can you add soundproofing after the basement is finished?
You can add some sound-dampening measures after a basement is finished, but ceiling and framing changes usually require opening finished surfaces. Rugs, acoustic panels, softer furnishings or better doors may help with particular problems without extensive rework. For more significant noise transfer, assess the full room before deciding what to change.
How much does it cost to sound-dampen a basement?
The cost depends on the type of noise, the rooms involved, existing conditions, and whether the ceiling is already finished. There isn’t a useful universal price per square foot. We prefer to define the sound-control scope during discovery, develop the design and give you a written proposal that distinguishes essential work from optional upgrades.